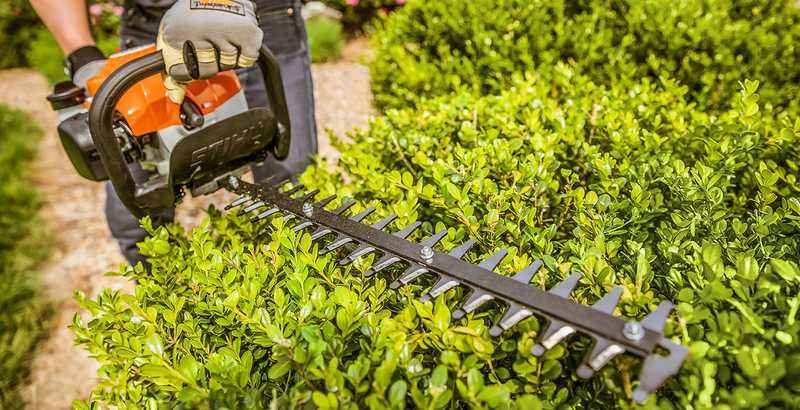
Hedge trimmers are indispensable tools for maintaining a well-manicured garden. Over time, continuous use can dull the blades, leading to less effective cutting and a less polished appearance for your hedges. Learning how to sharpen hedge trimmers is a valuable skill that can extend the life of your equipment and ensure clean, precise cuts. In this guide, we’ll walk you through the step-by-step process of sharpening hedge trimmer blades and offer useful tips for achieving professional results.
Hedge Trimmer Sharpening Guide
1. Gather Your Tools:
Before you start the sharpening process, ensure you have the necessary tools and safety equipment. Here’s what you’ll need:
- Hedge trimmer
- Safety gloves
- Safety glasses
- Wire brush
- Honing stone or sharpening file
- Lubricating oil
- Screwdriver (if needed to remove blades)
2. Safety First:
Always prioritize safety when working with any tools. Wear safety gloves to protect your hands from sharp edges and debris, and use safety glasses to shield your eyes.
3. Inspect the Blades:
Examine the hedge trimmer blades for any visible damage, such as nicks or chips. If the blades have significant damage, it may be necessary to replace them rather than attempting to sharpen.
4. Clean the Blades:
Use a wire brush to remove any sap, debris, or residue from the blades. Clean blades ensure a more effective sharpening process.
5. Remove Blades (If Necessary):
Some hedge trimmers have blades that can be easily removed for sharpening. Refer to your trimmer’s user manual to determine whether the blades are detachable and follow the instructions for removal.
6. Secure the Blades:
If you can’t remove the blades, secure the hedge trimmer in a stable position, ensuring it won’t move during the sharpening process. You may use clamps or a workbench for stability.
7. Choose Your Sharpening Tool:
Select a suitable sharpening tool based on your preference and the condition of your hedge trimmer blades. Honing stones and sharpening files are commonly used for this purpose.
8. Sharpening Technique:
Follow these steps for effective sharpening:
a. Angle: Maintain the existing angle of the blade while sharpening. Check the manufacturer’s recommendations for the specific angle of your trimmer’s blades.
b. Strokes: Use smooth, even strokes along the entire length of the blade. Start from the base and move towards the tip. Repeat this process until you achieve a sharp edge.
c. Consistency: Ensure you sharpen each blade evenly to maintain balance and prevent issues during operation.
9. Check Sharpness:
Periodically stop and check the sharpness of the blades. You should feel a consistent sharp edge along the entire length. If necessary, continue sharpening until you achieve the desired result.
10. Lubricate Blades:
Apply a thin layer of lubricating oil to the blades once they are sharpened. This helps reduce friction and prevents rusting.
11. Reassemble Hedge Trimmer (If Removed):
If you detached the blades, carefully reassemble the hedge trimmer according to the manufacturer’s instructions. Ensure all parts are secure and in the correct positions.
12. Test the Trimmer:
Before putting the hedge trimmer back into regular use, conduct a test run to ensure that the blades are sharp and functioning correctly. Be careful with petrol hedge trimmers as they will be even more powerful than before.
13. Regular Maintenance:
To prolong the sharpness of your hedge trimmer blades, incorporate regular maintenance into your gardening routine. Clean the blades after each use and inspect for any signs of damage.

Conclusion
Learning how to sharpen hedge trimmers is a valuable skill that can save you money on replacements and ensure your garden remains perfectly manicured. By following these steps and incorporating regular maintenance, you’ll enjoy the benefits of a well-maintained hedge trimmer and achieve clean, precise cuts every time you tend to your garden. Remember to prioritize safety throughout the process, and happy trimming!